Granny pods, also known as accessory dwelling units (ADUs) or in-law suites, offer a fantastic solution for providing independent living spaces close to home for elderly family members. However, installing a granny pod involves several costs that homeowners need to consider. In this comprehensive guide, we’ll break down the various expenses associated with granny pod installation and offer tips for managing these costs effectively.
Understanding Granny Pod Installation Costs
Before breaking down the costs, it’s essential to understand that the total expense can vary widely based on factors such as location, size, design, and the level of customization. Generally, the costs can be grouped into the following categories:
- Permitting and Legal Fees
- Site Preparation
- Construction and Materials
- Utilities and Hookups
- Interior Finishes and Furnishings
1. Permitting and Legal Fees
One of the first steps in installing a granny pod is obtaining the necessary permits and complying with local zoning regulations. This can include:
- Building Permits: Required by your local government for construction work.
- Zoning Fees: Depending on your area’s regulations, you may need to apply for zoning variances or special use permits.
- Impact Fees: Some municipalities charge impact fees for the additional load on public services like water, sewer, and roads.
These costs can range from a few hundred to several thousand dollars, depending on your location.
2. Site Preparation
Proper site preparation is crucial for a successful granny pod installation. This phase includes:
- Land Clearing: Removing trees, shrubs, and other obstacles.
- Grading and Excavation: Leveling the ground and preparing it for construction.
- Foundation Work: Laying a solid foundation, which could be a concrete slab, pier and beam, or crawl space.
Site preparation costs can vary widely based on the complexity of the site, typically ranging from $5,000 to $20,000.
3. Construction and Materials
The construction phase is where the bulk of the costs will come in. This includes:
- Building Materials: Wood, concrete, steel, roofing, siding, insulation, etc.
- Labor: Hiring contractors, carpenters, electricians, plumbers, and other skilled workers.
- Custom Features: Any additional features like porches, decks, or special accessibility modifications.
The cost of constructing a granny pod can range from $50,000 to $200,000 or more, depending on the size and level of customization.
4. Utilities and Hookups
Connecting the granny pod to essential utilities is another critical expense. This includes:
- Water and Sewer: Connecting to existing municipal systems or installing a septic system.
- Electricity: Running electrical lines and installing the necessary wiring and fixtures.
- Heating and Cooling: Installing HVAC systems for climate control.
Utility hookup costs can vary based on the distance from existing services and the complexity of installation, typically ranging from $10,000 to $30,000.
5. Interior Finishes and Furnishings
The final touch in creating a comfortable and functional living space includes:
- Flooring: Hardwood, tile, carpet, or vinyl.
- Cabinetry and Countertops: Custom or prefabricated kitchen and bathroom fixtures.
- Appliances: Stove, refrigerator, washer, dryer, etc.
- Furniture: Beds, chairs, tables, and other essential items.
Interior finishes and furnishings can range from $10,000 to $50,000 or more, depending on the quality and quantity of items selected.
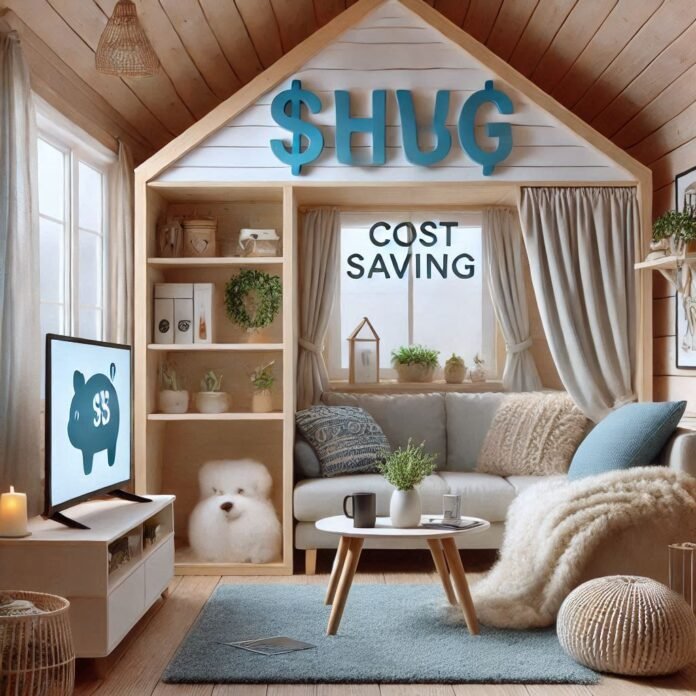
Cost-Saving Tips for Granny Pod Installation
While the costs of installing a granny pod can add up, there are several strategies you can employ to manage expenses effectively:
- Research and Compare Options: Get multiple quotes from contractors and suppliers to ensure you’re getting the best deal.
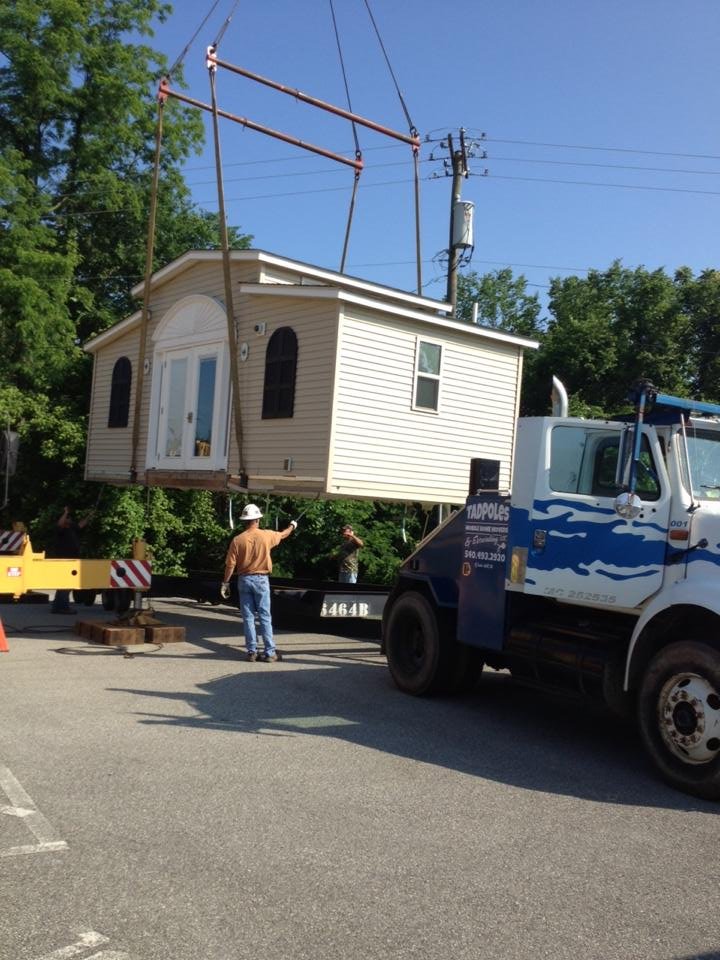
- Opt for Pre-Fabricated Units: Pre-fabricated or modular granny pods can be more cost-effective than custom-built units.
- DIY Site Preparation: Handle some of the site preparation tasks yourself, such as clearing land or basic landscaping.
- Use Second-Hand or Discounted Materials: Look for deals on building materials and furnishings to save money.
- Prioritize Essential Features: Focus on must-have features first, and consider adding extras later as your budget allows.
Granny Pod Installation Process and Costs
1. Building Permits and Legal Fees
One of the first steps in installing a granny pod is obtaining the necessary building permits and complying with local zoning regulations. These permits ensure that the construction meets all safety and legal requirements. Additionally, you may need to pay zoning fees and other legal costs associated with the project.
2. Site Preparation
Proper site preparation is crucial for the successful installation of a granny pod. This involves clearing the land, leveling the ground, and ensuring that the site is ready for construction. Site preparation may also include landscaping and addressing any drainage issues.
3. Construction and Materials
The construction phase includes building the granny pod using materials such as wood, concrete, steel, roofing, siding, and insulation. The cost of construction also covers labor expenses for skilled workers, including carpenters, electricians, and plumbers. Custom features and upgrades may add to the overall cost.
4. Utilities and Hookups
Connecting the granny pod to essential utilities such as water, electricity, and sewage systems is another critical expense. This includes running electrical lines, installing plumbing fixtures, and setting up heating and cooling systems to ensure a comfortable living environment.
5. Interior Finishes and Furnishings
The final step in creating a comfortable living space involves adding interior finishes and furnishings. This includes installing flooring, cabinetry, countertops, and appliances, as well as furnishing the space with beds, chairs, tables, and other essential items. The quality and quantity of these items will influence the overall cost.
Conclusion
Installing a granny pod is a significant investment, but with careful planning and smart choices, you can create a comfortable and affordable living space for your loved one. By understanding the various costs involved and employing cost-saving strategies, you can manage your budget effectively and ensure a successful installation.


