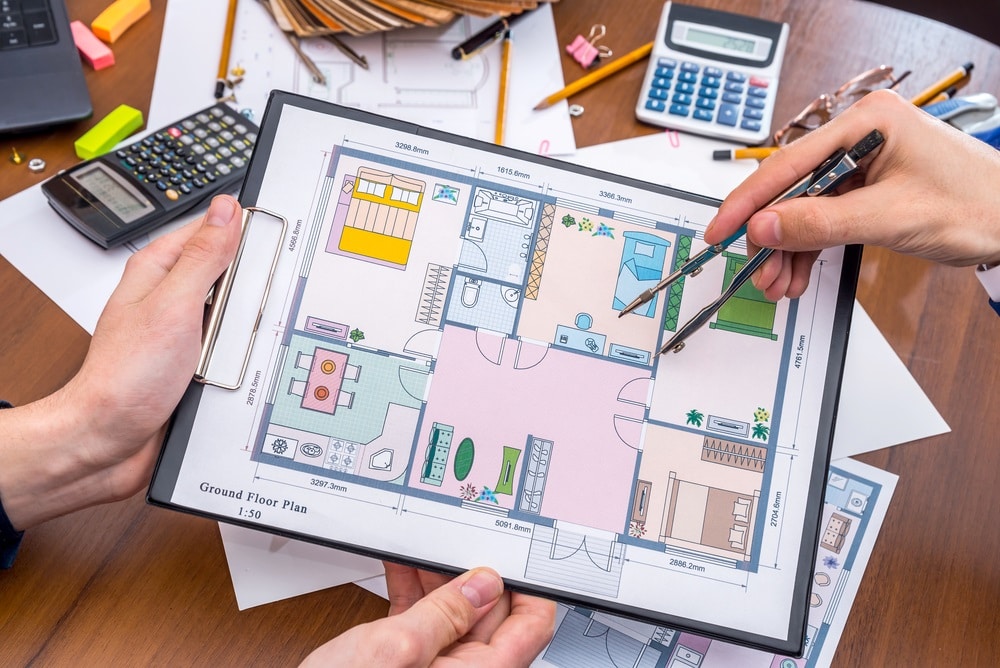
When it comes to graphic design drawings, many people’s first reaction may be that they need professional designers or people related to the construction industry to draw them, and many tools now require special learning before they can be used. So, as an ordinary person, if you want to design your own home plan or draw a floor plan related to the office layout , what software should you use?
As a multi-functional and easy-to-operate drawing software, Edraw Graphics Expert can easily draw complex drawing processes. Even non-professionals and novices with no drawing skills can get started quickly. Today, the editor has sorted out some basic operation steps for drawing a floor plan, let’s take a look!
First, open the Edraw graphic design software, select the new “floor plan”, and select the corresponding template or example on the right interface of the software to start drawing. Click to see how to create a floor plan with Edraw software? Detailed video tutorial!
【basic settings】
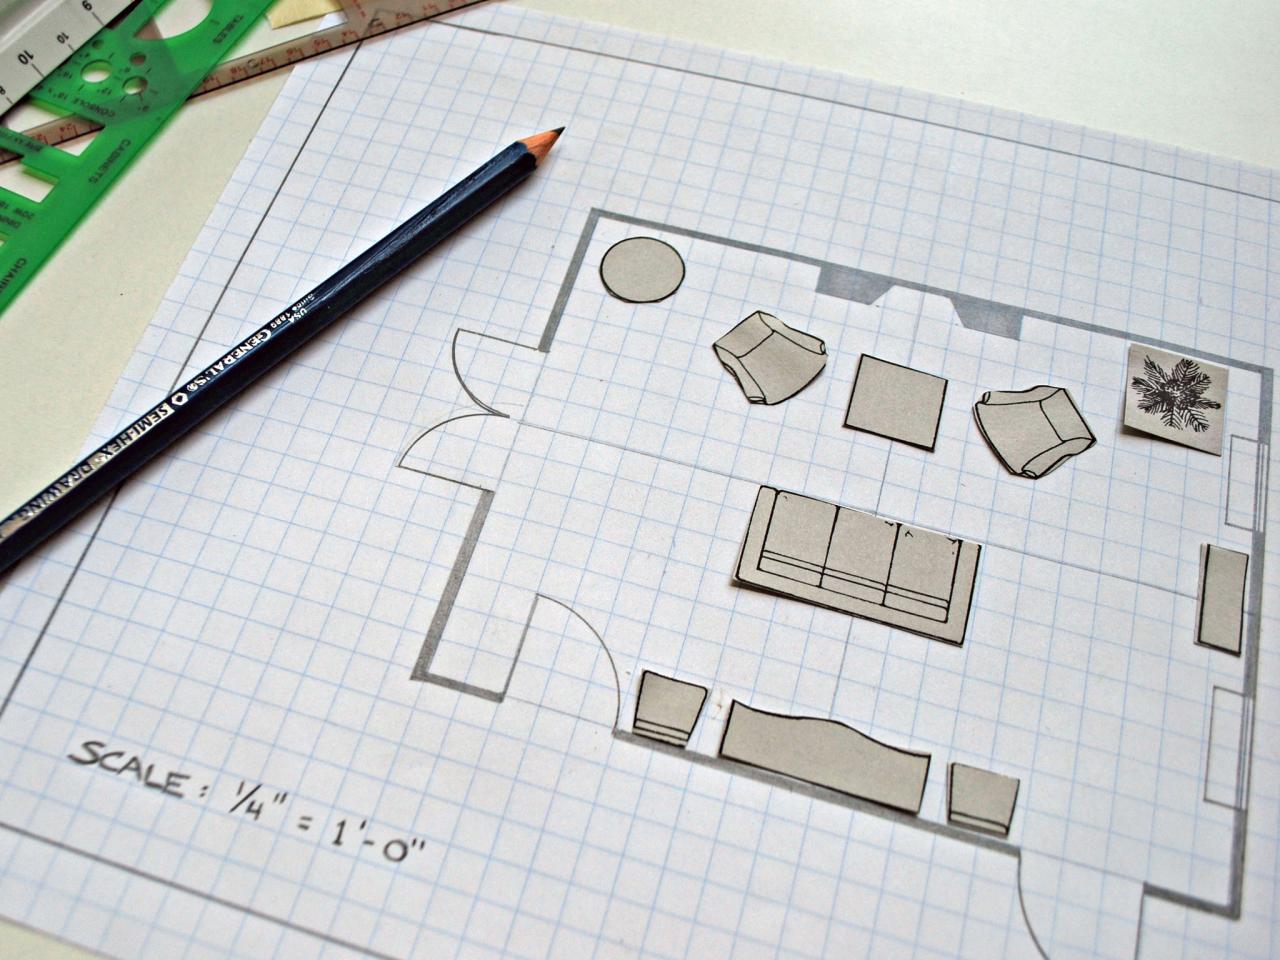
1. Set the graphic scale:
Drawing scale determines the relationship between distances in the picture and distances in the real world. According to the real area size, you need to set an appropriate drawing scale before drawing. Enter the drawing scale value in the “Plan” menu box, and click the Set Drawing Scale button.
2. Set the wall thickness:
Enter the wall thickness in the “Plan” menu options box, then click the Set to select the Wall Thickness button to set the wall thickness; click Set All Wall Thickness to set the thickness of all walls at once.
3. Set the unit and precision:
Go to the “Plan” menu and click the Units and Dimension Precision button to set the units and precision.
4. Whether to display the size:
There are two options here: show size metrics when checked or always show size metrics. Choose the first one if you need to print or export the floor plan without showing dimensions.
【Create a basic exterior wall structure】
1. Use room shapes.
From the “Walls, Doors, Windows and Structures” symbol library, drag and drop the room shape onto the drawing page.
Adjust the interior size:
a. Drag the green control point.
b. Double-click the dimension text, enter the length and width, and the shape will change accordingly.
2. Use wall shapes. From the “Walls, Doors, Windows, and Structures” symbol library, drag and drop wall shapes onto the drawing page. Drag the green control point to change the wall size or change the wall length value. Drag one wall to the other, when the end point turns red, release the mouse, and the two walls will snap together.
【Create interior wall structure】
Drag the wall shape and place it inside the outer wall. Resize the wall by dragging the end point or changing the length value. Drag the end point from one wall to the other. When the end point turns red, the walls are automatically snapped together, and the partition between the two walls is automatically cleaned up.
【Add a door】
There are many wall shapes in the Wall, Surgical, and Structural symbol libraries. Drag a door shape close to the wall, when the wall turns dark red, release the mouse and the door will automatically bond to the wall. To set the door opening direction, you can right-click the shape of the door and select the vertical flip or horizontal flip button in the right-click menu to set. Drag the yellow control point to change the angle and direction of the door.
【Add window】
There are many window shapes in the Wall, Shell, and Structural Symbol library. Drag the window shape close to the wall, when the wall turns dark red, release the mouse, the window will be automatically attached to the wall.
【Add furniture and plants】
In the furniture symbol library, there are many common furniture symbols. Drag and drop a piece of furniture in the furniture symbol library to the position you want. All furniture shapes are adjustable, you can resize the shape by dragging the green control points, or directly edit the width and length of the shape. To change the color of furniture, first select the furniture, then go to the toolbar and click the shape fill button to set. If you need to decorate with plants, you can drag and drop your favorite plants from the plant symbol library to the drawing page.
【Add a ruler to the wall】
Drag a dimension line from the dimension library to the wall. To align the edges of the walls, drag a smart guide from the ruler to help with alignment. Units, precision, angle and extension options are easily set in the floating button.